Insert overmolding
We mold the rigid part first, then place it into a second mold where the soft layer goes on.
- Tooling
- Lower
- Part price
- Higher
- Cycle
- Two steps
Good for: pilot runs, metal inserts, parts that change often.
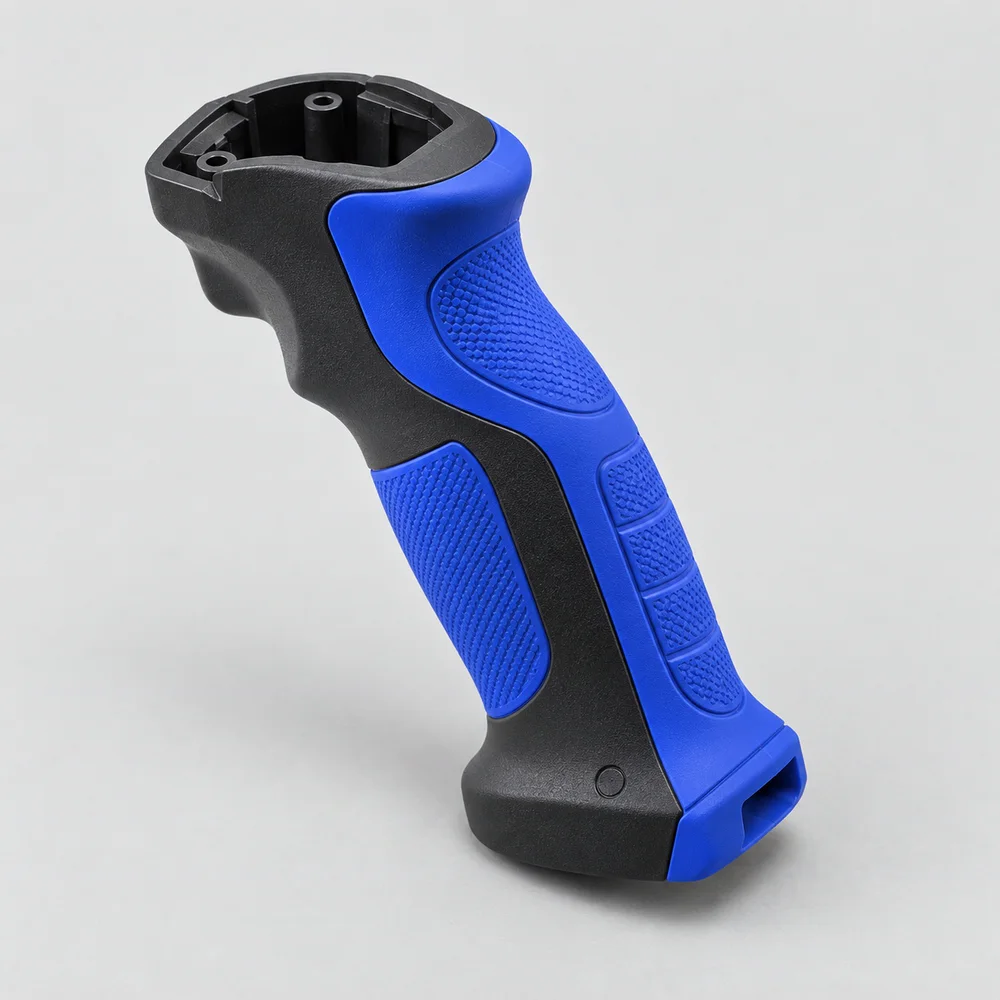
A soft grip, seal or bumper molded right onto a rigid part. You get one finished part: no glue, no assembly, nothing to peel off.
01Two ways to do it
Both give you a bonded part. The difference is tooling cost versus speed.
We mold the rigid part first, then place it into a second mold where the soft layer goes on.
Good for: pilot runs, metal inserts, parts that change often.
One press, two barrels, a rotating mold. Both materials go in during a single cycle.
Good for: grips, seals and buttons at high volume.
02Material pairs
Pick a rigid plastic to see which soft materials bond to it. When the chemistry doesn't bond, we design in a mechanical lock instead.
03Design rules
1 to 3 mm thick, with no sudden jumps. Thick spots sink and thin spots don't fill.
Through-holes or undercuts let the soft layer grab on, even when the materials don't bond.
A small shut-off groove gives the soft layer a clean edge that can't lift.
30 Shore A feels like a gel, 90 like a tire. It changes the mold, so decide before tooling.
At least 1° on soft walls so they release from the mold without tearing.
04Example
A customer's grip peeled after a few months in the field. We changed the soft material, added four interlock holes and moved it to a two-shot mold.